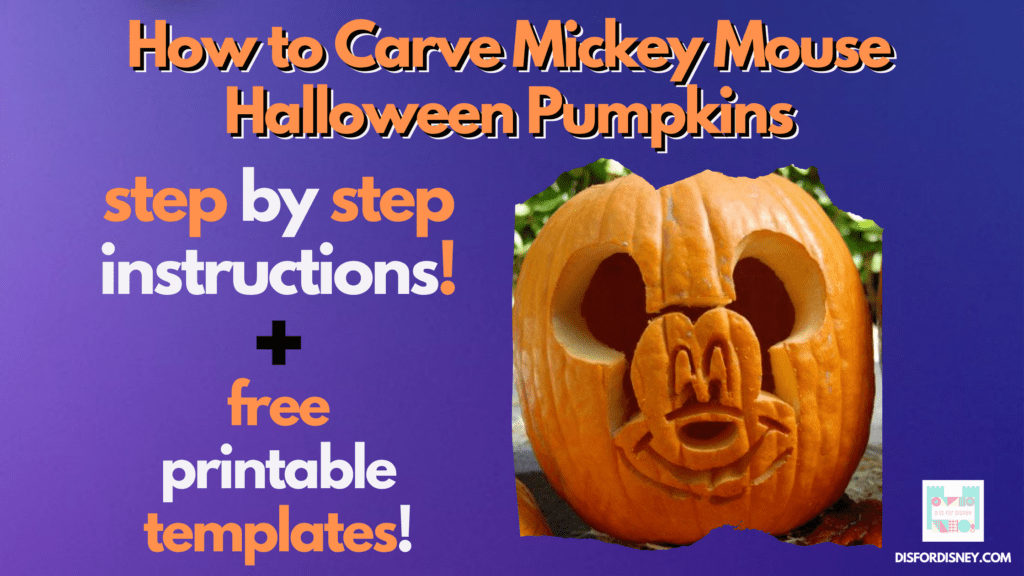
Halloween is a special time for Disney fans. It’s a great opportunity for fans to dress like their favorite characters. And there are so many fun Disney-themed Halloween decorations to enjoy. One of the best things about Halloween is DIY family projects. What better way to show off your Disney enthusiasm during Halloween than carving a Mickey Mouse pumpkin to put on your porch for trick-or-treaters to see? Find out exactly how to carve Mickey Mouse Halloween pumpkins right here!

FUN FACT: Since 2006, Disneyland has decorated for the Halloween season, including hundreds of jack o’ lanterns along Main Street, U.S.A. The largest is a 16-foot tall Mickey Mouse pumpkin!
How to Carve Mickey Mouse Pumpkins for Halloween: Step by Step Instructions
STEP ONE: Pick Your Mickey Design!
Your first step is determining how you want Mickey to look on your pumpkin.
There are so many Mickey Mouse pumpkin carving ideas. It can be hard to choose just one!
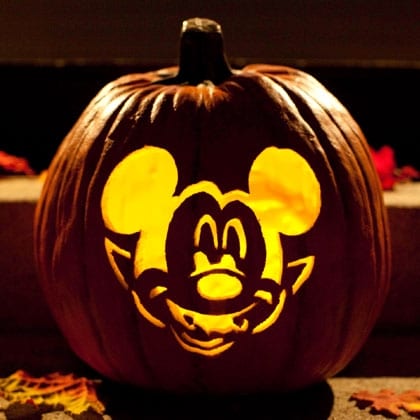
Do you want a classic front view?
![How to Carve Mickey Mouse Pumpkins for Halloween [Source: Disney Family]](https://www.disfordisney.com/wp-content/uploads/2020/09/mickey-pumpkin-carving-printables-photo-420x420-cp-dsc_0070.jpg)
Download Classic Front View template here.
A simple silhouette?
![Mickey Mouse Carving Halloween Pumpkins [Source: Johnson Family Blog]](https://www.disfordisney.com/wp-content/uploads/2020/09/DSC_9881-1-678x1024.jpg)
Get the full instructions here.
A playful profile view?
![Easy Mickey Mouse Pumpkin Carving Ideas [Source: Six Sisters Stuff]](https://www.disfordisney.com/wp-content/uploads/2020/09/9fa21086310f078d1cdf86b11f86aa1b.jpg)
See this design and more ideas here.
Or how about Mickey is his vampire costume?

Download the Mickey Mouse Vampire template here.
With all the Mickey Mouse Halloween pumpkin ideas, it’s difficult to pick a favorite.
Maybe you’ll just have to carve more than one Mickey Mouse pumpkin! 😉
STEP TWO: What Should You Cut?
Once you’ve selected your Mickey Mouse pumpkin design…
You’ll need to print out the image and tape it to the pumpkin as a guide.
Determine what areas will need to be cut out to make your design appear correctly.
STEP THREE: Stencil Your Design!
You can either trace the design onto the pumpkin with a washable marker, or push a pin through the paper to create an outline of holes and then later “connect the dots” by carving with a knife.
FUN FACT: During the Halloween and Holiday seasons, Jack Skellington – the Pumpkin King in The Nightmare Before Christmas – takes over the iconic Haunted Mansion in Disneyland to create the immersive Haunted Mansion Holiday attraction.
STEP FOUR: Carve!
Always be careful with the knife (children should be surprised by adults), and start carving from the center of the design and work your way out to the edges of the design.
![Halloween Pumpkin Carving Technique [Source: Bob Vila]](https://www.disfordisney.com/wp-content/uploads/2020/09/pumpkin-stencil.jpg)
Learn more about pumpkin carving techniques here.
STEP FIVE: Empty the Insides!
Depending on the size of your design, you may be able to pull out the pumpkin’s seeds and insides through the holes you have already cut. If not, you can cut out the top to form a “lid” and pull the insides out that way.
FUN FACT: A spooky jack o’ lantern plays a pivotal role in The Legend of Sleepy Hollow segment of the 1949 Disney animated feature The Adventures of Ichabod and Mr. Toad.
STEP SIX: Show It Off!
Your Mickey Mouse pumpkin is now ready for display!
Find a special place for it to sit, put a candle inside, and light the candle.
Congratulations! You have carved a Mickey Mouse pumpkin for Halloween!
Now all that’s left to do is to take some photos so you can share your Mickey Mouse pumpkin online.
When you do, let me know! I’d love to share them too! 🙂
Have a magical day!
Keep Reading
Disney World Mickey’s Not So Scary Halloween Party Update for 2020
Share this post on your Facebook, Twitter, or Pinterest page with the easy share icons below.
Neal Tucker is one of the world’s most engaging Disney influencers, with thousands of views and responses across his blog, podcast, and social media profiles every month.
Get started with more D Is For Disney content here